How do you create a table directly in the editor?
A table can be inserted into the math editor as a matrix. This can be achieved by selecting the array table option from the Matrix Menu (![]() ) or searching by pressing the
) or searching by pressing the \ key and typing array or table. Upon inserting this into your math, just like with any other matrix, hypatia will prompt you to give the dimensions of your table as shown below. These can always be adjusted later.
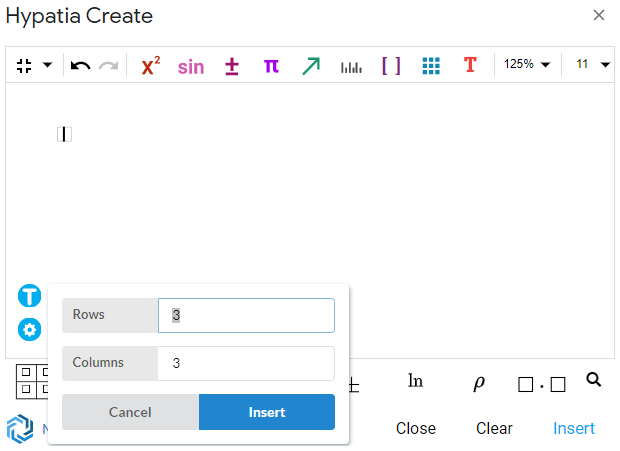
When you fill out the desired dimensions, click on the blue Insert button to add the table into the editor. You can navigate between cells in the table by clicking into the cell you want to edit with the mouse or with the arrow keys.
Modifying Tables
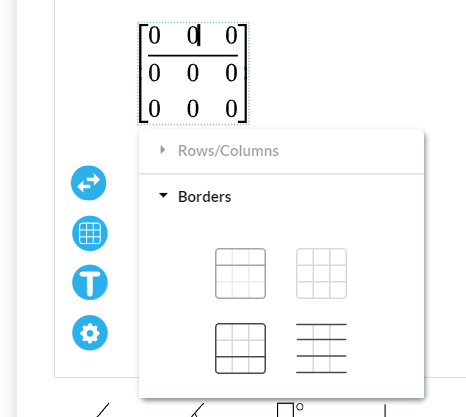
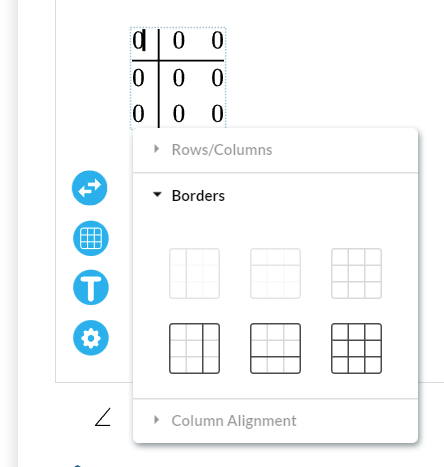
To modify the number of rows or columns in your table, click on the Modify Matrix Properties button (![]() ) which will bring up a menu where rows and columns can be modified as shown in the figure below. These modifications are relative to the current position of the text cursor. This menu can also be used to modify the table borders.
) which will bring up a menu where rows and columns can be modified as shown in the figure below. These modifications are relative to the current position of the text cursor. This menu can also be used to modify the table borders.

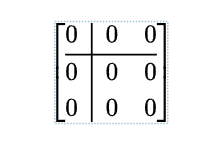
Because the table is a matrix, if you want to create a table of a different style you can choose a different matrix element to represent your table and follow the same steps outlined here.